Headless Setup & Terminal Access
What “headless” means
Running the system headless means operating it without a dedicated monitor, keyboard, or mouse connected to the Raspberry Pi.
Instead, we’ll access the Pi remotely over the network using SSH. This is how Quadify is designed to run long-term.
Step 1: Enable SSH in Volumio
-
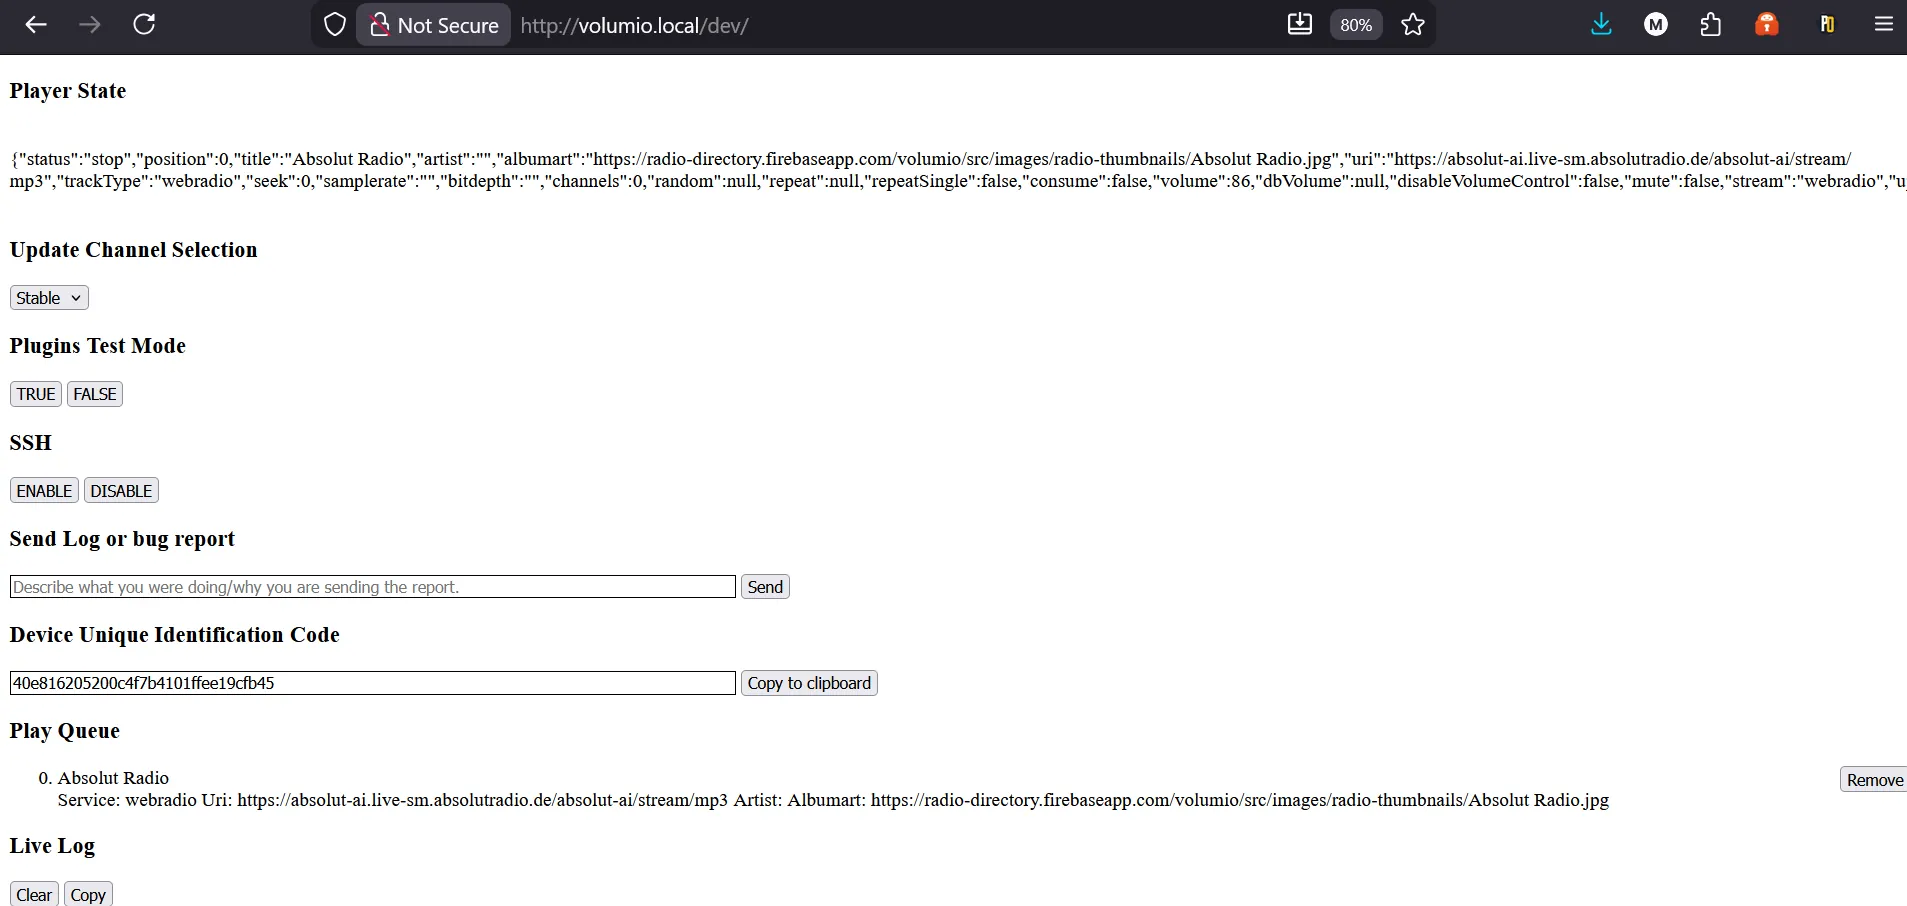
Open a web browser and navigate to your Volumio IP address,
adding /dev to the end:
http://<your-volumio-ip>/dev - This opens the Volumio DEV page
- Locate the SSH option and enable it
SSH is disabled by default in Volumio, so this step is required.
Step 2: Download a terminal client
To connect to the Raspberry Pi remotely, you’ll need a terminal client. Two common options are:
- Termius: slightly easier to use, more modern
- PuTTY: simple, reliable, and widely used
For this guide, we’ll use PuTTY.
- Download PuTTY from https://www.putty.org
- Choose the installer for your system (32-bit or 64-bit, Windows will warn you if you pick the wrong one)
Step 3: Connect to the Raspberry Pi
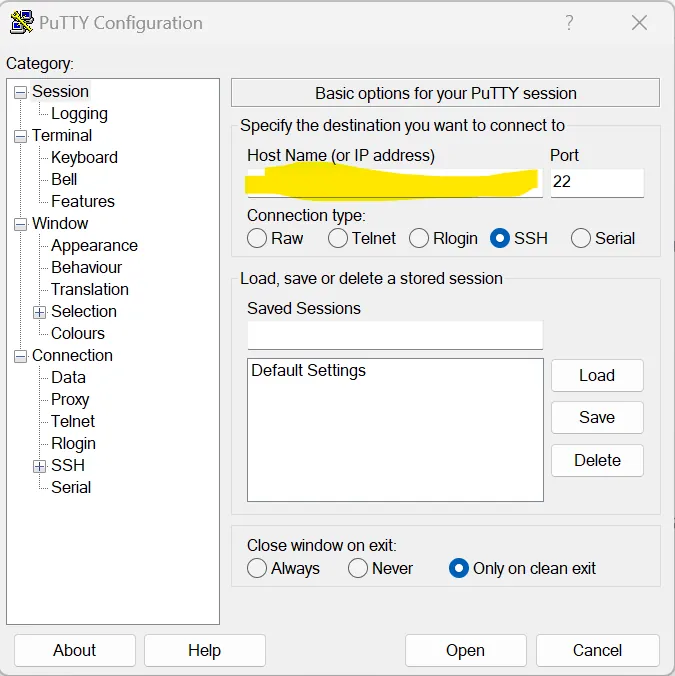
- Launch PuTTY
- Enter the IP address of your Volumio device
- Ensure the connection type is set to SSH
- Click Open
This is why you wrote down the IP address earlier.
Step 4: Log in
If the connection is successful, a black terminal window will appear asking for login details.
- Username: volumio
- Password: volumio
If you see the login prompt, you’ve entered the correct IP address.
You’re connected
If you’re greeted with a command prompt, you’re now logged into the Raspberry Pi.
At this point, you’re fully connected and ready to configure the system further.
Optional: Test playback from the terminal
As a quick test, you can start playback directly from the terminal by typing:
volumio playIf music starts playing, everything is working as expected.
This isn’t required for Quadify to function; it’s simply a quick confidence check.
What’s next
Now that the Raspberry Pi is accessible headlessly, you can begin adding the screen, buttons, LEDs, and other Quadify hardware.